When you drop a black logo on a dark background, it vanishes like a ghost. You squint, zoom in, and wonder if you even added it correctly.
I remember the first time this happened to me. I had a black PNG logo, a gorgeous design I wanted to place on a dark website banner. Instead of sleek branding, I got… nothing.
Just a blank space. In desperation, I even dragged the PNG into Microsoft Word, hoping some miracle button would appear. It didn’t.
If you’re in that same spot right now, black PNG in hand, frustration building, you’re in the right place. I’m going to show you exactly how to make a black logo white in Photopea, step by step, without jargon or confusing tools.
And yes, by the end, your logo will look clean, crisp, and perfect for any dark background.
Why Photopea is Perfect for This
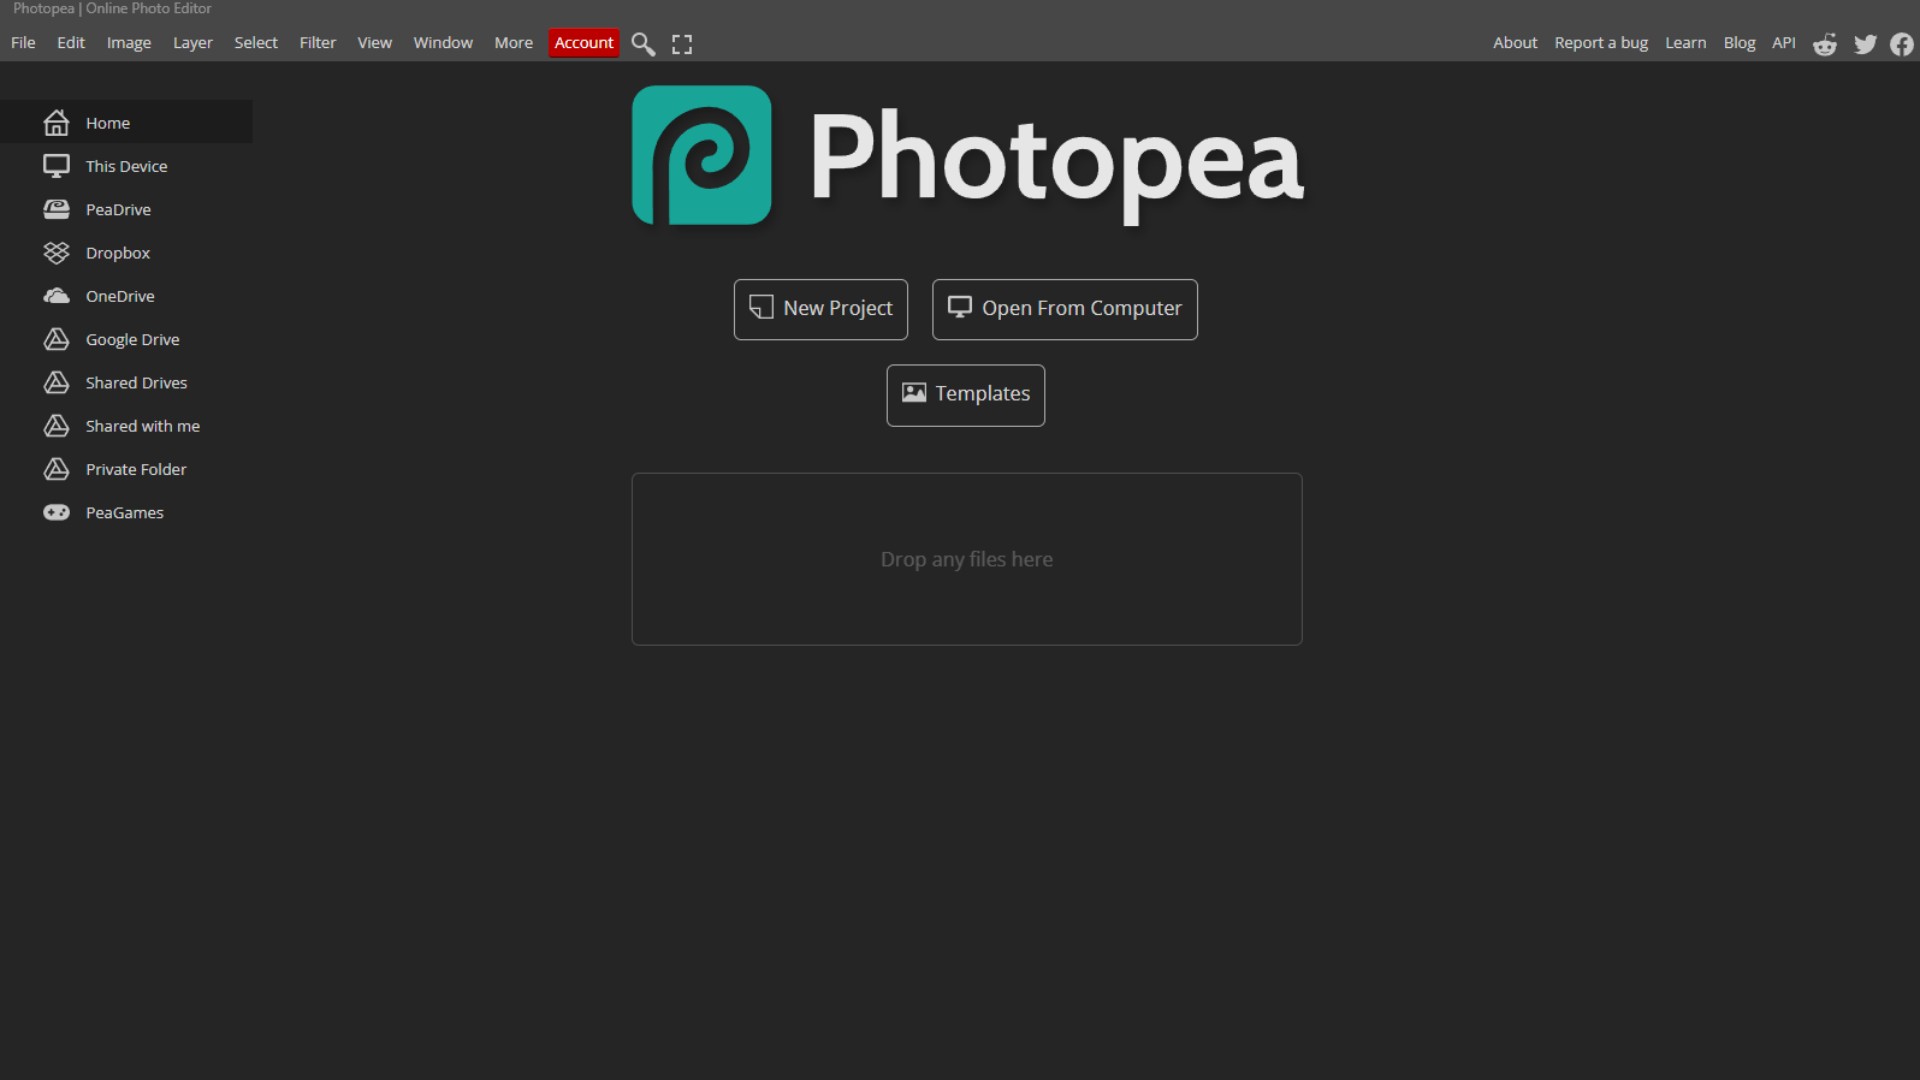
Photopea is like Photoshop’s free cousin. It runs right in your browser, no downloads, no subscriptions, no hidden traps. Just type photopea.com into your address bar and you’re in.
At first glance, though, Photopea can feel overwhelming. If you’ve never edited an image before, the menus look like an alien dashboard. The trick is knowing where to click, and that’s exactly what you’ll learn here.
Open Your Logo in Photopea

- Go to photopea.com.
- At the top-left, click File > Open, then find your black PNG on your computer.
- Alternatively, drag and drop your logo directly into the workspace.
If your logo has no background, you’ll see it floating above a checkerboard pattern. If it looks like nothing happened, that’s just because your black logo is sitting on a light background.
Understand Why Painting Won’t Work
Here’s the mistake beginners (myself included) often make: grabbing the Brush Tool or Paint Bucket Tool and trying to color the logo white.
The result? Messy edges, uneven fills, and wasted time. Painting works for simple shapes, but not for logos that need to stay sharp.
The proper way is faster and cleaner: use an adjustment layer that flips the colors automatically.
Invert the Colors
- In the top menu, click Image > Adjustments > Invert.
- Watch as your black logo instantly turns white.
That’s it. Seriously. One click.
What happened here? Inverting switches every color to its opposite. Black becomes white, and if your logo had grays, they’d flip to the opposite tones as well.
Export the White Logo
Once your logo looks exactly how you want it:
- Click File > Export As > PNG.
- Name it something like logo_white.png.
- Save it to your computer.
If your original logo had a transparent background, your exported white version will also be transparent—perfect for dropping onto any background color.
Common Beginner Mistakes to Avoid
- Forgetting to Export as PNG – If you save as JPEG, you’ll end up with a solid background instead of transparency. Always pick PNG for logos.
- Double Inverting – If you accidentally invert twice, your logo will go back to black. Undo with Ctrl+Z (or Cmd+Z on Mac) and try again.
- Exporting Too Small – When exporting, make sure you don’t shrink the resolution. A small logo will look blurry when stretched.
Bonus Trick: Make the Logo Any Color
White logos are handy, but what if you want your brand color instead?
Here’s how:
- After inverting, go to the top menu and click Layer > New Fill Layer > Solid Color.
- Pick any color you like.
- Set the blending mode of that new layer to Color or Overlay.
Now your logo isn’t just white, it can be red, blue, gold, or whatever matches your brand.
Why This Matters for Beginners
The ability to change logo colors quickly saves you endless frustration. Imagine preparing social media graphics, presentations, or website designs, you’ll run into background clashes often.
Instead of asking a designer to fix it (and waiting hours or days), you’ll be able to do it yourself in under two minutes.
My First Attempt (and How I Messed Up)
The first time I tried editing a PNG in Photopea, I nearly gave up. I kept clicking random buttons, hoping something would happen. My logo turned neon green at one point, then disappeared entirely.
It wasn’t until I stumbled on the Invert command that I realized how simple it actually was. That’s when I learned an important lesson: most design tools look harder than they really are. Once you know the right click, everything feels easy.
Changing a black logo to white in Photopea feels intimidating the first time, but it’s surprisingly easy once you know where to click.
You don’t need years of design experience or expensive software. You just need the right steps: open, invert, export. Done.
The next time someone hands you a black-only PNG and asks, “Can you make this white?” you’ll nod, smile, and fix it like a pro in under two minutes.
FAQs About Making Black Logos White in Photopea
Can I make part of the logo white and keep the rest black?
Yes. Use the Lasso Tool or Magic Wand Tool to select the area you want to change, then apply Invert only to that selection.
Will this work on JPG logos too?
Yes, but with a caveat. If your logo is on a white background (as most JPGs are), inverting will also flip the background. You’ll need to remove the background first.
What if my logo looks gray after inverting?
That means your original file wasn’t pure black. Go to Image > Adjustments > Levels and drag the sliders until the logo is solid white.
Is Photopea safe to use?
Yes. It’s browser-based and doesn’t require downloads or accounts. Just open the site and start editing.
Can I edit vector logos in Photopea?
If you have a .SVG file, you can open it in Photopea, but editing is trickier. For simple color changes, stick to PNGs.
Do I need Photoshop if I have Photopea?
Not for this task. Photopea is more than enough for basic logo color editing.
How do I make the logo transparent instead of white?
You can’t invert to transparency. Instead, delete the logo layer and save the background-only canvas as PNG.
BONUS FOR YOU: Get the Digital Product Starter Kit and start building your own online business today.
Here Are Some of My Favorite Tools For Print-on-demand
As a graphic designer and POD seller, I’ve had the opportunity to discover different helpful products and tools that can be time-saving and make the process of creating your designs a bit smoother.
DESIGNS: Kittl (best for t-shirt designs), Vexels (for professional designs), Placeit (for unique product mockups)
GRAPHICS: Creative Fabrica (cheapest marketplace), Envato Elements (more variety)
SELLING DESIGNS: Creative Fabrica (for advanced graphic designers)
ETSY:
- Research – Alura (best), ProfitTree ( beginners)
- Fulfillment – Printul (beginners), or Printify (advanced).
Disclosure: Some of the links above may contain affiliate partnerships, meaning, at no additional cost to you, NechEmpire may earn a commission if you click through to make a purchase.
- How to Highlight an Image with a Glowing Neon Frame in Canva - December 13, 2025
- How to Curve & Wrap Text Around a Circle in Canva (Step-by-Step Tutorial) - December 13, 2025
- How To Remove Background In Canva Mobile App - September 4, 2025


